chef-provisioningとchef-provisioning-sshでお手軽クラスタプロビジョニング #getchef

この記事は1年以上前に投稿されました。情報が古い可能性がありますので、ご注意ください。
前回はStandalone構成でChef Serverを構築するRecipeを紹介しました。
今回はchef-provisioningとchef-provisioning-sshを用いて、Tier構成のChef Serverを構築してみます。
chef-provisioningは先日のMeetupでAlexもデモされたのでご存知の方も多いと思いますが、同日のプレゼンでまだchef-metal-sshの名称であったSSH Driverをご紹介しました。
この度AuthorのZack Zondlo氏がコードをRewriteし、リポジトリ自体もChef配下に取り込まれました。
それでは今回実際に実行するコードは以下になります。
https://github.com/urasoko/tier_chef-server
コマンドは以下です。
$ chef-client -z tier_chef-server.rb --chef-zero-port 8899
chef-clientのローカルモードでchef-provisioningのRecipeを指定していますが、これでWorkstationのchef-repoディレクトリをベースにchef-zeroが起動され、Chef Serverの役割を担います。既存のChef Serverを利用することも可能です。
(chef-zero-portオプションを指定しているのは、Reportingアドオンのreconfigureコマンドが、内部でchef-clientのローカルモードを利用しており、chef-zeroが使用するportがデフォルト値で衝突するためです)
原則docsの手順に則るのですが、Tier構成のdocsはどうやらHA構成の記載と入り混じっており分かりづらくなっています。
(おそらくSphinxのrstファイルincludeが複雑化しているのだと思われます)
簡単にはデータベースを担うbackendロールを先にプロビジョニングし、backendで作成された各種キー及び設定ファイルをfrontendロールへも展開のうえ、frontendをプロビジョニングします。
まず今回はsshを用いますので事前に2つのサーバ情報が明確です。これらを基にchef-server.rbファイルを編集のうえbackendをプロビジョニングします。
machine "backend" do

  machine_options :transport_options => {

    :ip_address => backend_ipaddr,

    :username => 'root',

    :ssh_options => {

      :keys => ['~/.ssh/id_rsa']      #custom to your auth info

    }

  }

  attribute %w[chef-server backend fqdn], backend_fqdn

  attribute %w[chef-server backend ipaddr], backend_ipaddr

  attribute %w[chef-server frontend fqdn], frontend_fqdn

  attribute %w[chef-server frontend ipaddr], frontend_ipaddr

  recipe 'chef-server::backend'

  converge true

end
次にbackendで作成されたファイル群のうちfrontendに必要なキー設定ファイルを一旦Workstationの/tmpにダウンロードします。
backend_files.each do |file|

  machine_file "/etc/opscode/#{file}" do

    local_path "/tmp/#{file}"

    machine 'backend'

    action :download

  end

end
machine_fileリソースの実装はNet::SCPなのですが、現状recursiveオプションには非対応なので、少し数は多いですがファイル単位で処理します。
続けてfrontendへファイル群をアップロードします。その際frontendの情報をdriverが知っている必要があるので、machineリソースのallocateを実行した後にmachine_fileで処理します。
machine "frontend" do

  machine_options :transport_options => {

    :ip_address => frontend_ipaddr,

    :username => 'root',

    :ssh_options => {

      :keys => ['~/.ssh/id_rsa']      #custom to your auth info

    }

  }

  action :allocate

end
backend_files.each do |file|

  machine_file "/etc/opscode/#{file}" do

    local_path "/tmp/#{file}"

    machine 'frontend'

    action :upload

  end

end
ファイルのアップロード完了後に、改めてfrontendのプロビジョニングです。
machine "frontend" do

  recipe 'chef-server::frontend'

  converge true

end
実行ログの抜粋です。
$ chef-client -z tier_chef-server.rb --chef-zero-port 8899

...

  * machine[backend] action converge

    - create node backend at http://localhost:8899

    -   add normal.tags = nil

    -   add normal.chef-server = {"backend"=>{"fqdn"=>"backend.cl-lab.io", "ipaddr"=>"10.132.7.113"}, "frontend"=>{"fqdn"=>"frontend.cl-lab.io", "ipaddr"=>"10.132.7.114"}}

    -   add normal.chef_provisioning = {"reference"=>{"driver_url"=>"ssh:/Users/urasoko/.chef/provisioning/ssh", "driver_version"=>"0.0.7", "target_name"=>"backend", "ssh_machine_file"=>"/Users/urasoko/.chef/provisioning/ssh/backend.json", "allocated_at"=>"2015-04-24 07:25:38 UTC"}}

...

    - generate private key (2048 bits)

    - create directory /etc/chef on backend

    - write file /etc/chef/client.pem on backend

    - create client backend at clients

...

    - write file /etc/chef/client.rb on backend

    - write file /tmp/chef-install.sh on backend

    - run 'bash -c ' bash /tmp/chef-install.sh'' on backend

    [backend] Starting Chef Client, version 12.2.1

              resolving cookbooks for run list: ["chef-server::backend"]

              Synchronizing Cookbooks:

                - chef-server

              Compiling Cookbooks...

              Converging 7 resources

              Recipe: chef-server::backend

...

              Chef Client finished, 8/8 resources updated in 467.20672179 seconds

    - run 'chef-client -l auto' on backend

  * machine_file[/etc/opscode/chef-server-running.json] action download

    - download file /etc/opscode/chef-server-running.json on backend to /tmp/chef-server-running.json

...

  * machine[frontend] action allocate

    - create node frontend at http://localhost:8899

    -   add normal.tags = nil

    -   add normal.chef_provisioning = {"reference"=>{"driver_url"=>"ssh:/Users/urasoko/.chef/provisioning/ssh", "driver_version"=>"0.0.7", "target_name"=>"frontend", "ssh_machine_file"=>"/Users/urasoko/.chef/provisioning/ssh/frontend.json", "allocated_at"=>"2015-04-24 07:34:01 UTC"}}

  * machine_file[/etc/opscode/chef-server-running.json] action upload

    - upload file /tmp/chef-server-running.json to /etc/opscode/chef-server-running.json on frontend

...

  * machine[frontend] action converge

    - update node frontend at http://localhost:8899

...

    - generate private key (2048 bits)

    - create directory /etc/chef on frontend

    - write file /etc/chef/client.pem on frontend

    - create client frontend at clients

...

    - write file /etc/chef/client.rb on frontend

    - write file /tmp/chef-install.sh on frontend

    - run 'bash -c ' bash /tmp/chef-install.sh'' on frontend

    [frontend] Starting Chef Client, version 12.2.1

               resolving cookbooks for run list: ["chef-server::frontend"]

               Synchronizing Cookbooks:

                 - chef-server

               Compiling Cookbooks...

               Converging 7 resources

               Recipe: chef-server::frontend

...

               Chef Client finished, 9/9 resources updated in 452.535276199 seconds

    - run 'chef-client -l auto' on frontend

Running handlers:

Running handlers complete

Chef Client finished, 27/33 resources updated in 987.188083 seconds
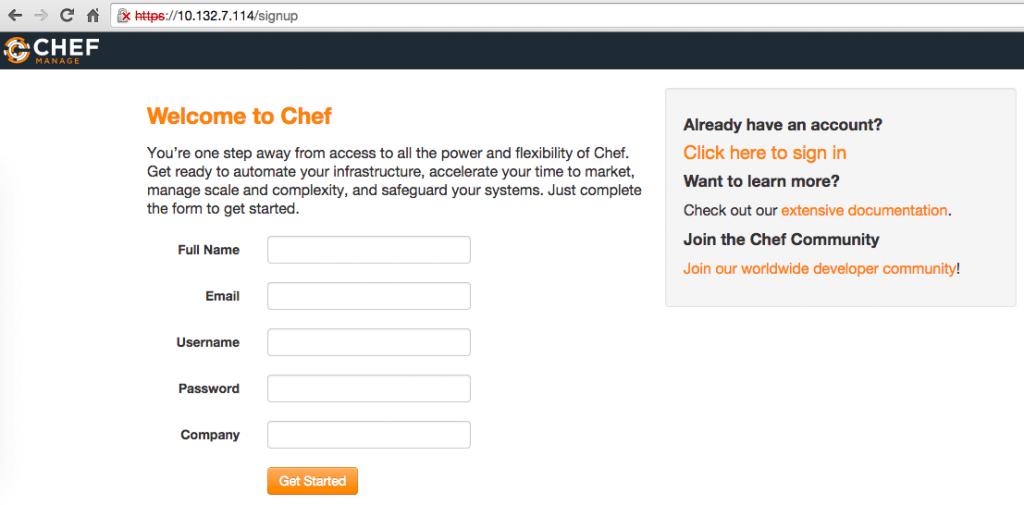
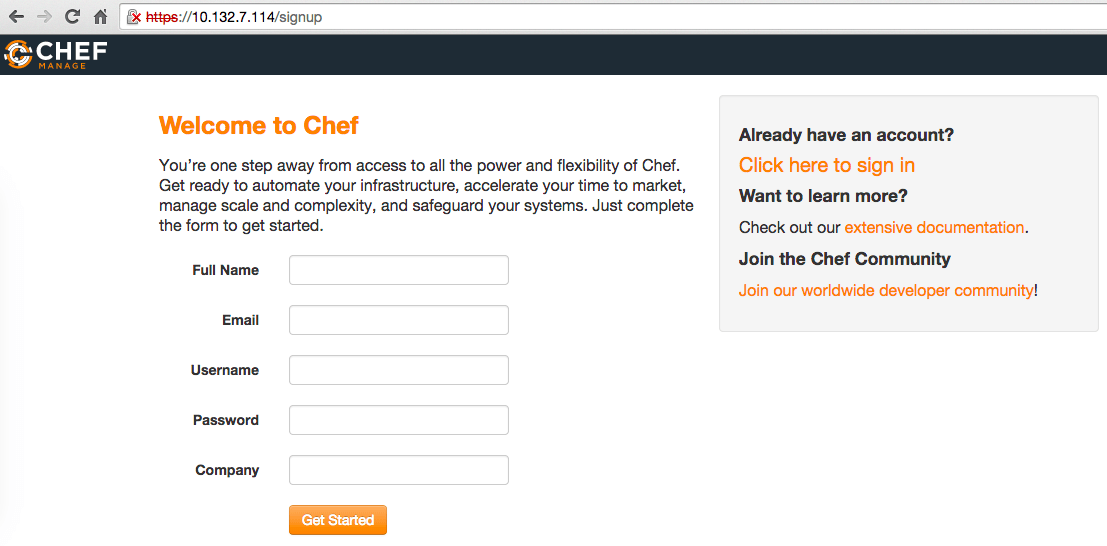
プロビジョニング完了後ブラウザからfrontendにアクセスするとManege UIが表示されます。

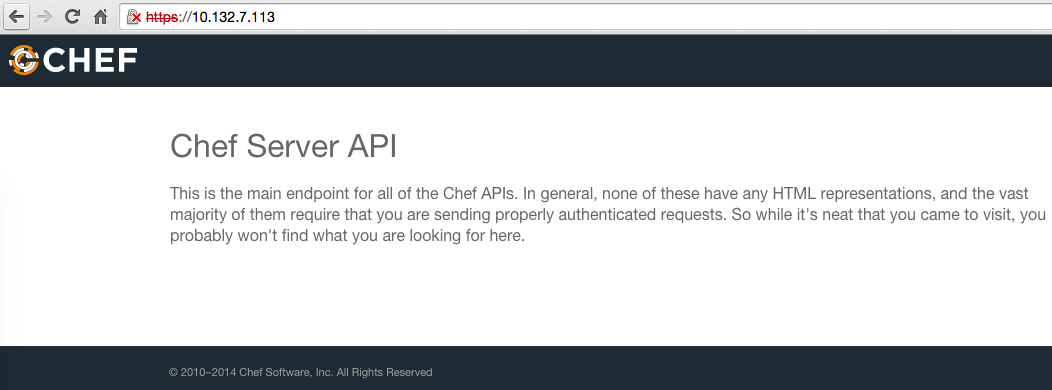
ちなみにbackendにブラウザからアクセスすると以下画面となります。

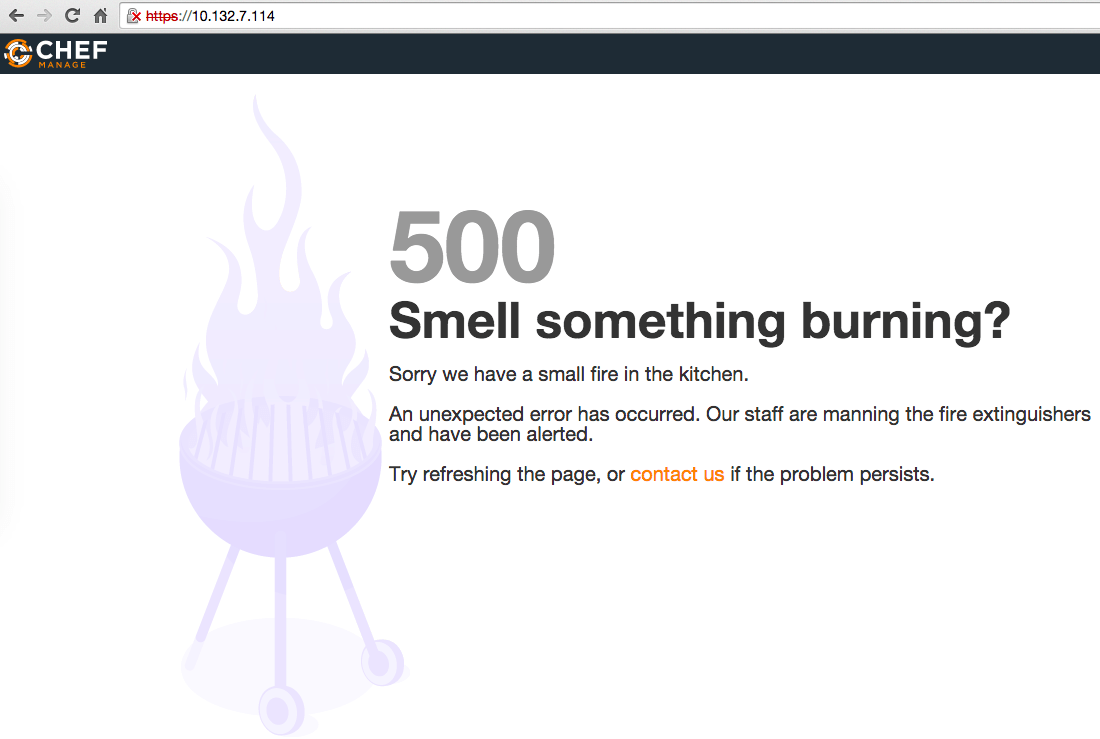
逆にbackendのchef-serverプロセスを停止した上でfrontendに再アクセスすると以下画面となります。

Tier構成で動作していることが分かると思います。
chef-provisioningでNode間の関連を意識したクラスタリングが可能になります。今回は利用していませんがmachine_batchリソースでパラレル処理することも可能です。
また、chef-clientのローカルモードは通常ローカルに保持するRecipeをNode自身が適用する動作となりますが、chef-provisioningを用いれば、Workstationのchef-zeroからNodeにRecipeを適用可能です。
chef-provisioning-vagrantを始めとする各種Driverもありますが、chef-provisioning-sshの場合は、InstanceやServerが既に存在しSSHに必要な情報さえあれば、各種Driverの代替ともなり得ます。これを機に試してみてはいかがでしょうか。


