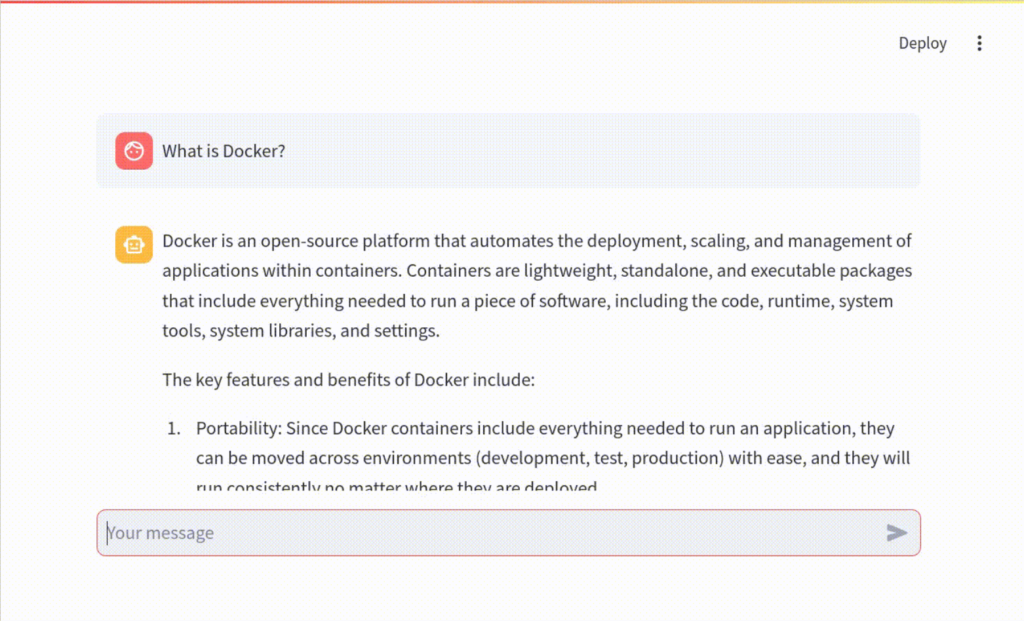
streamlitでお手軽チャットWebUIを作ろう #ai #azure #openai #llm #python

この記事は1年以上前に投稿されました。情報が古い可能性がありますので、ご注意ください。
はじめに
生成AIで何かをする、となったときにまず真っ先に ChatGPT のようなチャット形式のウェブインターフェイスはどうか?ということになるかと思います。
チャットWebUIを作成するには、Streamlit を使うとなかなかお手軽です。Azure OpenAI に問い合わせる簡単なPythonスクリプトから、チャットWebUIを作成してみましょう。
簡単なスクリプト
次のような標準入力の文字列を逆順に並べ替えて返す簡単なPythonスクリプトがあるとします。
def process( q ):
    return "".join( list( reversed( q ) ) )

print( "Q: ", end = "" )
question = input()

answer = process( question )

print( "A: " + answer )
このスクリプトを実行すると、
Q:
と入力を促されるので例えば abcde と入力すると、
Q: abcde
A: edcba
edcba と逆順になって出力されます。
StreamlitでウェブUI化
先の簡単なターミナル用スクリプトを Streamlit を使ってウェブUIにしてみましょう。
import streamlit as st

def process( q ):
    return "".join( list( reversed( q ) ) )

if question := st.chat_input():
    with st.chat_message( "user" ):
        st.markdown( question )
    with st.spinner():
        answer = process( question )
    with st.chat_message( "assistant" ):
        st.markdown( answer )
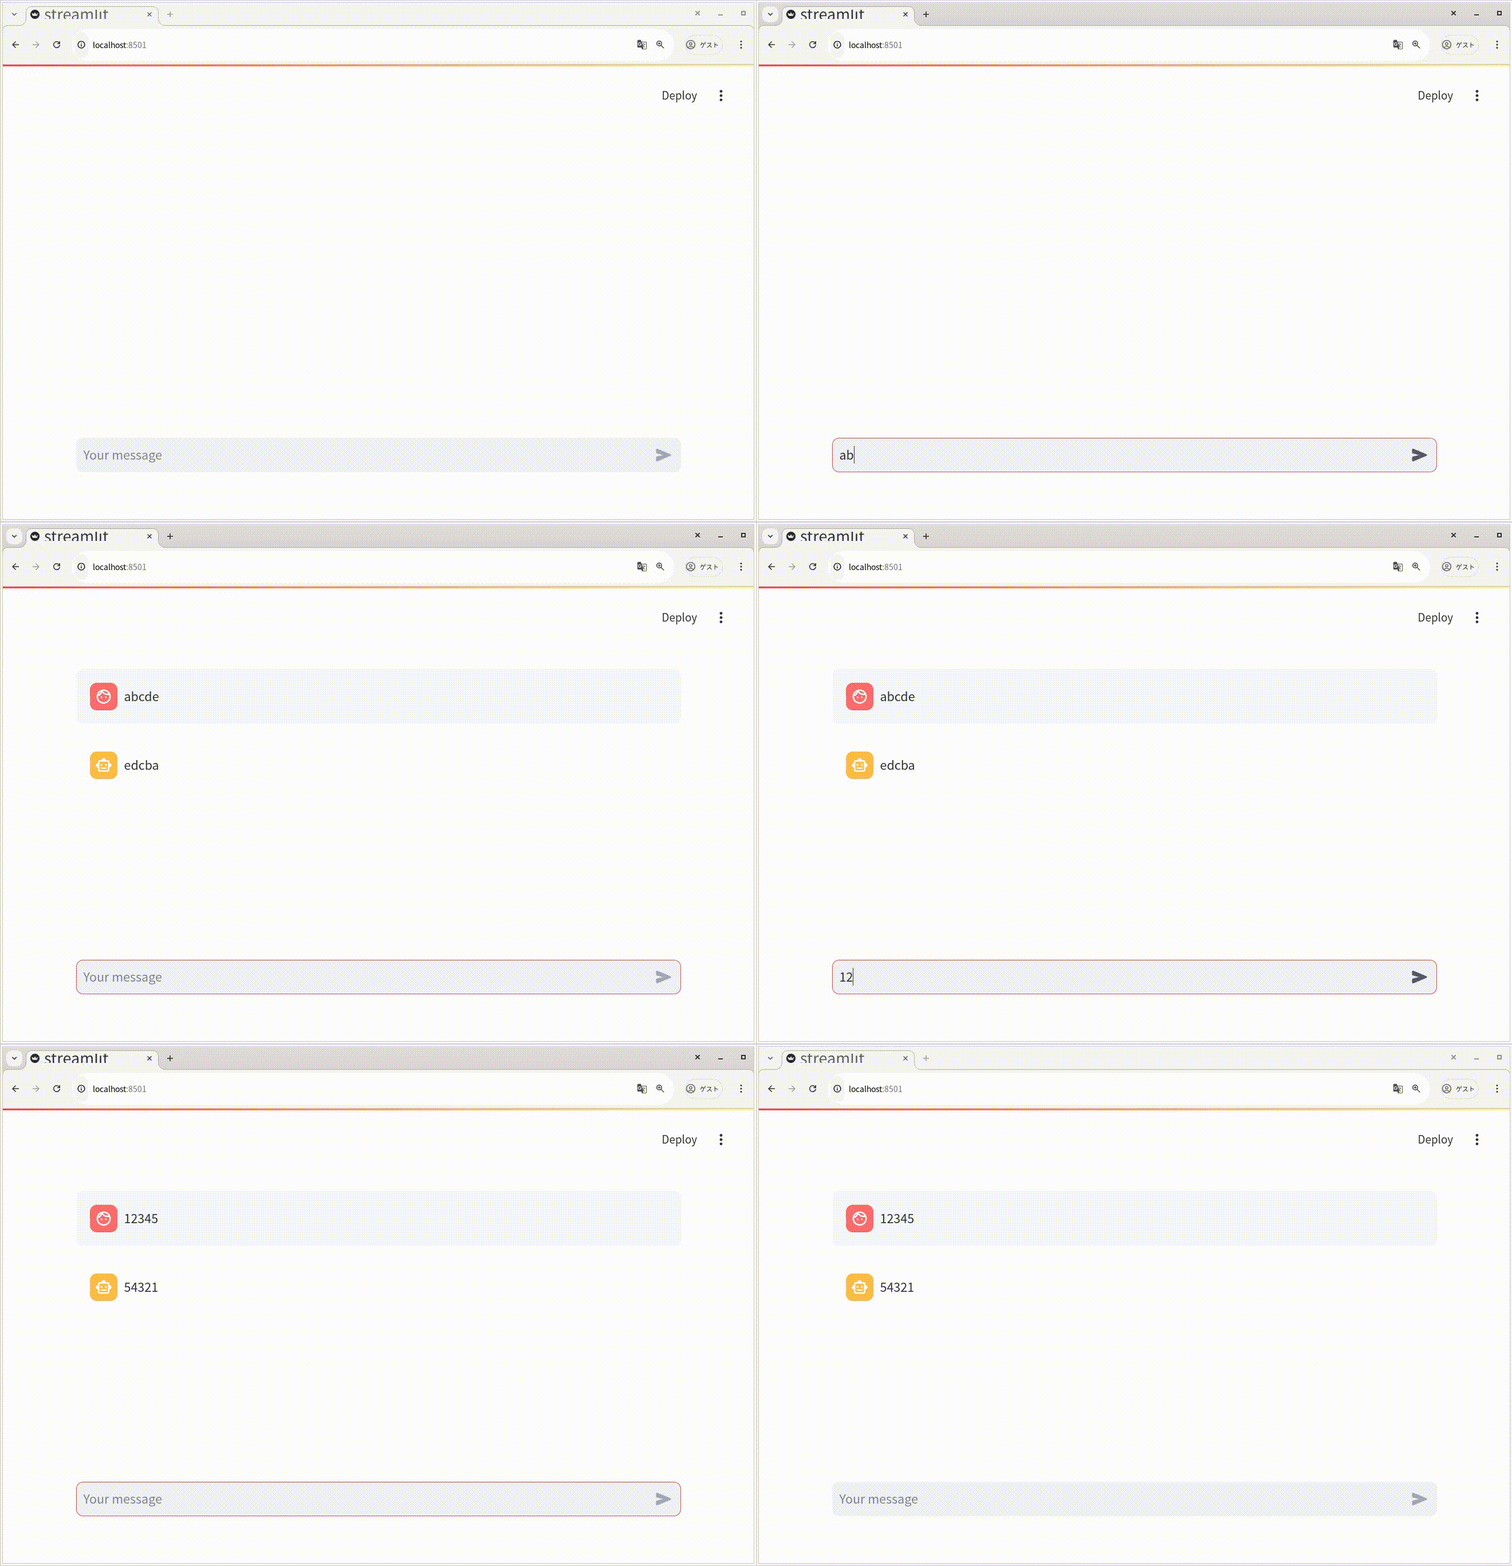
これを実行してブラウザでアクセスすると次のようになります。

これだけのコードでかなりいい感じのチャットUIが作れます。
簡単なAzure OpenAIへの問い合わせスクリプト
次のような標準入力の文字列をAzure OpenAIに問い合わせる簡単なPythonスクリプトがあるとします。
import os
from openai import AzureOpenAI
from dotenv import load_dotenv
load_dotenv()

def send_prompt(prompt):
    response = None
    try:
        client = AzureOpenAI(
            api_key = os.getenv("AZURE_OPENAI_API_KEY"),
            azure_endpoint = os.getenv("AZURE_OPENAI_ENDPOINT"),
            api_version = os.getenv("AZURE_OPENAI_API_VERSION")
        )
        response = client.chat.completions.create(
            model = os.getenv("AZURE_OPENAI_MODEL_NAME"),
            messages = [{"role": "user", "content": prompt}],
            max_tokens = 1024,
            temperature = 0.95
        )
    except Exception as e:
        print(f"error: {e}")
        response = None
    return response

print( "Q: ", end = "" )
question = input()

res = send_prompt( question )
if res:
    model_dump = res.model_dump()
    print({"response": model_dump['choices'][0]['message']['content']})
このスクリプトを実行すると Q: で入力を促されるので例えば What is Docker? と入力すると、その質問をAzure OpenAIに送り、返ってきた結果を表示します。
Q: What is Docker?
{'response': "Docker is an open-source platform designed to make it easier to create, deploy, and run applications by using containers. Containers allow a developer to package up an application with all of the parts it needs, such as libraries and other dependencies, and ship it all out as one package.\n\nThe idea behind Docker is to enable developers to quickly deploy applications in a lightweight, portable, and standardized environment. A container can run on any system that has Docker installed, regardless of the underlying operating system, which greatly simplifies development, testing, and deployment processes.\n\nSome key features and concepts of Docker include:\n\n1. **Containers:** These are the runtime instances of Docker images. They encapsulate the application and its environment. Containers run isolated from one another, sharing only the host OS's kernel.\n\n2. **Images:** Docker images are the static, immutable templates from which containers are created. They include the application code, libraries, dependencies, and environment settings.\n\n3. **Dockerfile:** This is a script containing a series of instructions for building a Docker image. It allows for automation of image creation.\n\n4. **Docker Hub and Registries:** Docker Hub is Docker's own cloud-based service for sharing and managing container images. Users can also use private registries to store and manage their own images.\n\n5. **Docker Compose:** This is a tool for defining and running multi-container Docker applications. With a Compose file (docker-compose.yml), you can configure all your application’s services and run them with a single command.\n\n6. **Volumes and Mounts:** Docker offers options for persistent storage that can be attached to containers, ensuring data isn't lost when the container is stopped or deleted.\n\n7. **Networking:** Docker provides network interfaces to allow containers to communicate both with each other and with external networks.\n\nDocker has become highly popular in the DevOps world due to its advantages in continuous integration, continuous deployment (CI/CD), infrastructure as code, and its overall agility in managing the lifecycle of applications. It supports a shift towards microservices architecture, where applications are built as a collection of loosely coupled services, which fits well with containerized deployment models."}
Streamlitを組み込み
では、標準入力からではなくStreamlitのチャットで質問を入力できるようにしてみましょう。
import streamlit as st

import os
from openai import AzureOpenAI
from dotenv import load_dotenv
load_dotenv()

def send_prompt(prompt):
    response = None
    try:
        client = AzureOpenAI(
            api_key = os.getenv("AZURE_OPENAI_API_KEY"),
            azure_endpoint = os.getenv("AZURE_OPENAI_ENDPOINT"),
            api_version = os.getenv("AZURE_OPENAI_API_VERSION")
        )
        response = client.chat.completions.create(
            model = os.getenv("AZURE_OPENAI_MODEL_NAME"),
            messages = [{"role": "user", "content": prompt}],
            max_tokens = 1024,
            temperature = 0.95
        )
    except Exception as e:
        print(f"error: {e}")
        response = None
    return response

if question := st.chat_input():
    with st.chat_message( "user" ):
        st.markdown( question )
    with st.spinner():
        answer = send_prompt( question )
        model_dump = answer.model_dump()
    with st.chat_message( "assistant" ):
        st.markdown( model_dump['choices'][0]['message']['content'] )
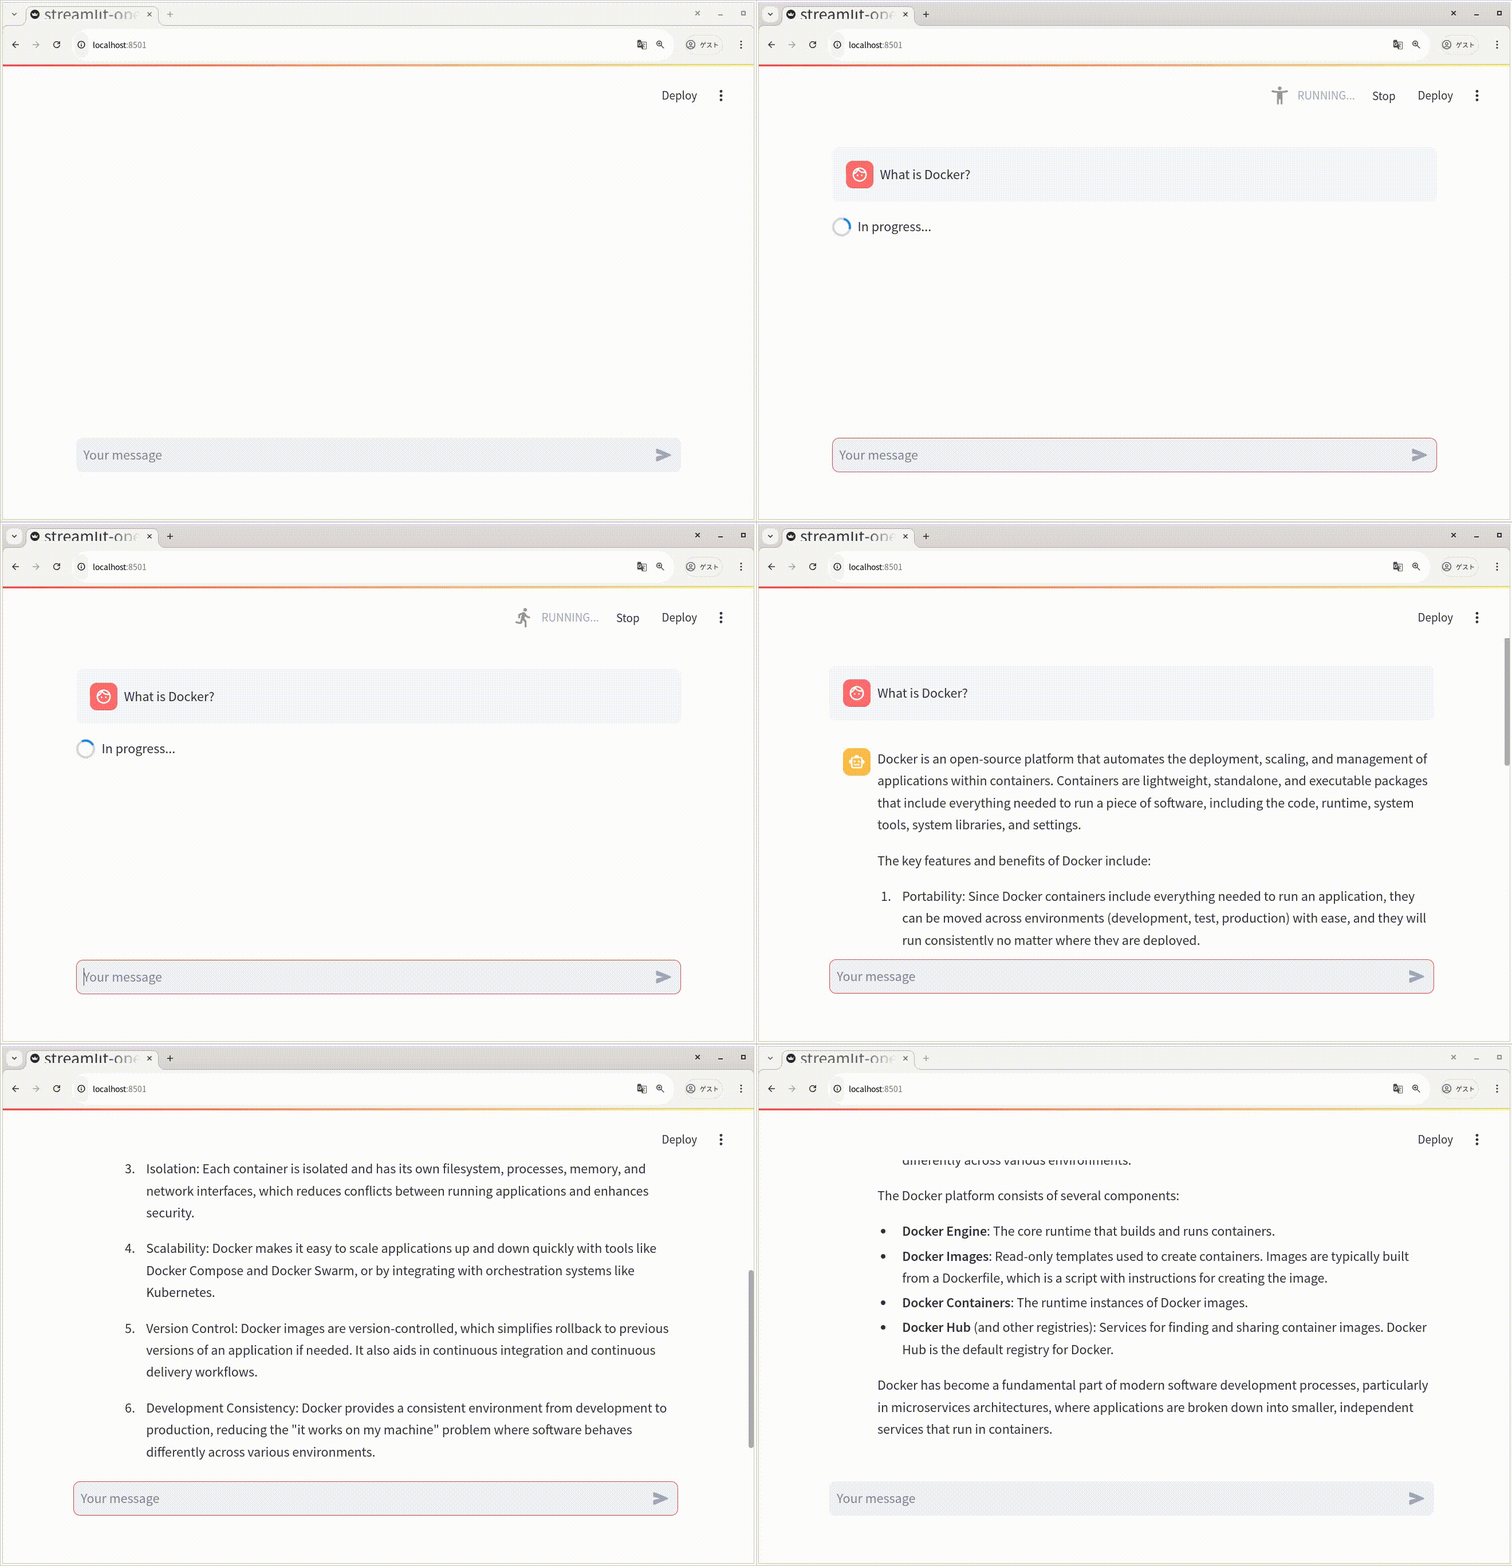
これを実行してブラウザでアクセスすると次のようになります。

たったこれでだけでChatGPTっぽいインターフェイスが実現できました。
まとめ
Streamlitを使ってChatGPTのようなチャット形式のウェブインターフェイスでAzure OpenAIに問い合わせできる簡単なスクリプトを作成してみました。比較的簡単なコードでUI部分が記述できるため、生成AIを利用したロジックの作成に集中できることが期待できます。
なお、本稿で作成したスクリプトは履歴機能を実装していないので、会話が継続していくチャットとしては利用できません。そのため、これはあくまでChatGPT「のような」でしかありません。一方でStreamlitにはそれらの履歴を実装する機能も備えているため、もう少し手を加えることでよりChatGPT「らしい」スクリプトを実現することもできます。是非お試しください。


